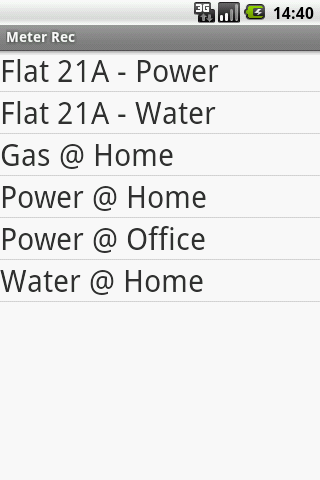
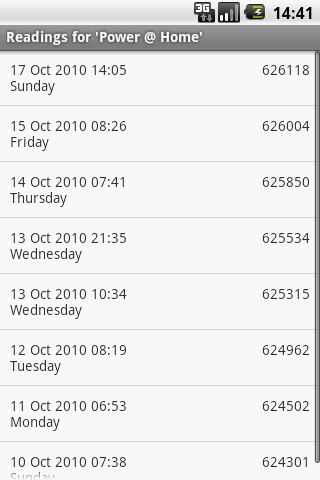
In the last two months I have written two Android apps, in doing so I have uncovered a number of tricks and quirks which I thought I’d share. To start with, the Android emulator…
Keyboard shortcuts
Surprisingly, the GUI for the emulator does not provide controls for a number of functions such as emulating a change in orientation, instead you need to use keyboard short-cuts.
Two particularly useful ones are:
- 7 on your keypad (or CTRL+F11) which cycles through portrait and landscape layouts.
- F8 which toggles cell networking on and off
Connecting to the emulator console
To connect to the emulator console you need to telnet to the emulator’s console port on localhost. The console port is displayed in the title bar of the emulator window and is normally 5554.
telnet localhost 5554
You can also use the adb command (in the tools folder of the SDK install) to list out all the running emulators and their ports:
adb devices
Emulating power state
Through the emulator console you can easily manipulate the power state of the emulator. To see the current state type:
power display
To emulate unplugging the device from a power source, type:
power ac off
Note: for some reason this does not seem to change the charging state of the emulated device.
To “plug” the device back in:
power ac on
To set the battery level to 10% use:
power capacity 10
Note: This is incorrectly documented in the SDK documentation.
There are a bunch of other commands that can be run through the emulator which allow simulation of network connectivity & latency, telephony, SMS services etc.
Accessing the shell
Using adb you can get access to the shell of the OS running within the emulator. This allows you to execute some of the low level apps installed on the device. To access the shell type:
adb shell
Since Android is running on a flavour of Linux you can move around the using ls and cd commands. Type the following to see where the native executables are installed:
echo $PATH$
Most of the useful applications can be found in /system/bin. Run this to see what you have access to:
ls /system/bin
Going monkey on your app
Within the shell you can run the Monkey stress tool. This tool emulates random button mashing, phone rotations and screen touches to stress out your app. Unleash monkey with the following command:
monkey -p your.package.name -v 500
Turning Japanese
Sometimes when you run Monkey it will change your IME, often to the Japanese one. To fix this long press on an input field, then select Input Method and then Android Keyboard from the pop-up options.
Setting the emulator’s date & time
Via the shell you can set the emulator’s date & time which is particularly useful for testing time based logic. Unfortunately the date command only accepts the number of seconds since 1970-01-01 00:00:00 UTC as input, which is a little tedious to use. However you can use the following command (which I found on Diego Torres Milano’s blog) to set the date from your command prompt (if you are running a unixy operating system):
adb shell date $(date --date="2008-01-31 17:46:59" +%s)
Note: This spits out an error message saying “settimeofday failed Invalid argument” but seems to work anyway.
Wrap up
Hopefully this has been useful, my next post will cover Preferences and how to use them in your apps. Be sure to check out the Android SDK tools documentation for more info.

 I’ve just released my first purchasable app on the Android market.
